Showing posts with label DIY. Show all posts

Wednesday, March 13, 2013

To the Walls

 
DIY art???!!! 
 
Sounds scary, huh? 
 
Not really.   You don't need an art degree for this:
 
 
Wisteria is selling these four canvases for $299.  This would be an easy DIY art project AND you could customize the colors and the dimensions (I'm all about some customization).  All you need are some canvases, paint, and brushes from the craft store, which would cost way less than the Wisteria art.  Notice how each canvas is painted a different shade of the same color.
 
If you are feeling a little bolder, you could mix it up and vary the colors, sizes, and arrangement of the canvases as shown below.
 
from"At Home with Pictures" by Paige Gilchrist
 
These canvases provide big impact on a large wall with a small budget.  They may not grace your walls forever, but would be a great place holder until you find that perfect piece.

Thursday, December 6, 2012

Problem Solved

I don't love DIY projects, but I just can't seem to stay away from them. 
 
 If you saw my Halloween and Thanksgiving decorations (you can check them out here and here) you will remember that I changed the items that hung above my mantle according to the season. 
 
 This left holes in the wall that will need to be patched before I re-hang the painting that resides there during the rest of the year. 
Not good.
 
So I got smart and devised this little DIY project to solve the problem of the holes in my wall.  I took the large gold frame that I already had, cut down a cork push pin board to fit the frame, wrapped the board in burlap, and fitted it into the frame.  Here's the result:


This will allow me to attach my holiday decorations to the cork board instead of driving nails into the wall.  Also, the frame makes the Cross that I hang during Christmas a little more prominent on the mantle. 
 
The best part is that the cork board is multipurpose.  When the holidays are over, I can use it in another room as a message board!


Thursday, October 11, 2012

Rust-Oleum Rocks!

Nothing says DIY like a good can of spray paint.  DIY projects usually end up wearing me out, but I always keep coming back for more.  As I was perusing the spray paint aisle at Home Depot the other day, I came across some great products that were new to me so I thought I would share them with you.
 
Dry Erase Paint
I knew this type of product was on the market for commercial interiors, but had no idea that it had jumped over to the residential market.  It only comes in white, but could still be a great design element if used in the right setting.


Colored Chalkboard Paint
Again, I knew this product was out there (see this post), but I thought it was just a special order item that you could only get via the internet.  It is tintable to 12 colors.  Very cool.

 
Countertop Coating
Got some fugly laminate?  Slap some paint on it and see what happens.

 
Spray Gun
This is perfect for those small spray paint jobs where they don't make the exact shade of paint you want in the spray paint can.  Just thin your paint color, pour it in the bottle, attach to the spray gun, then ready, aim, fire.


Chalkboard Spray Paint
I didn't know it came in a spray paint can.  No brushes, no clean up.  Great for the lazy DIYer like me.


Lacquer Spray Paint
Who doesn't love to get lacquered up?  Only drawback is your choices are black or white.  But maybe it's better that way since those are classics and nothing really hideous could happen, right?


Metallic Spray Paint
I'm using the Metallic Brass on some drapery rods for Madeline's room.  Am pleased with the color, as it is a very realistic metallic finish.


Fluorescent Spray Paint
Jenny used this on her DIY wire console table. (She is hardcore DIY, she got tetanus doing this project but obviously not from the spray paint).

 
Double Coverage Spray Paint
Twice the coverage and so many great colors!

 
Get more detailed info on Rust-Oleum products here.


Tuesday, October 9, 2012

Wax On, Wax Off

Last month, I posted briefly about the metal bookshelves that my Dad made for me as a Christmas gift.  Dad is great at making things, but he is not good at finishing them (i.e. painting or staining) so I was responsible for finishing the wood shelves.
 
It took me a while (nine months exactly) to figure out how I wanted to finish the shelves, and in the end I decided I really liked the look of the natural wood, which is white oak, so I wanted a finishing technique that would appear natural but protect the wood. At first I tried using a clear coat polyurethane, but although it was clear coat, it still gave a bit of color to the wood and made the wood grain a little darker, so I nixed that.  Then, I saw a few photos of limed wood furniture pieces and decided that was the look I wanted to achieve.  Here's how I did it:
 
First up, you will need some Briwax Liming Wax and Lundmark Clear Paste Wax (I couldn't find this stuff at any of my local hardware stores, so Amazon to the rescue, amazing what you can get there).


Next, make sure that your surface is sanded smooth (use fine grit sand paper) and free of any debris and/or old finishes.  My shelves were new, untreated wood, so I didn't have to worry about stripping old finishes and Dad was gracious enough to sand them for me. 
 
Then, dip a clean cotton cloth into the Liming Wax (I used one of the hubs' old white t-shirts), get a dollop of wax, and rub it along the grain of the wood.  This doesn't have to be a thick coat, just enough to cover the wood and get into the grain.

This is a dollop.  You like that precise measurement?

Rub with the grain of the wood.

Aim for a thin coat that looks something like this.

The untreated wood is to the left, the lime wax is on the right.
 
Let the wax sit for a few minutes, then wipe it off with another clean cotton cloth.  It should then look like this:

 
You can see the original color of the wood, but it has a slight whitewashed tint and the grain shows up as white instead of dark.  I liked this coverage, but if you wanted more lime wax to show, you could probably repeat the steps above, build up the finish with several coats of wax, then use a scraping method to look something like this:
 
 
Also keep in mind that the wood species and any stain color underneath will determine the final color of the piece. 
 
This is a rosewood chest.  Notice that it is much darker than my wood shelves.
 
If you want more of a gray tone to the wood, you would probably need to stain the wood first with something like the Minwax Wood Finish Classic Gray 271 and then apply the lime wax.
 
After you finish the lime wax process, let the piece cure for about 24 hours, then apply the Lundmark Clear Paste Wax.  This will add an extra layer of protection to the wood but won't alter the lime wood finish.  Repeat the same steps as above to apply this wax:  using a clean cotton cloth apply a coat of wax, let it dry for a few minutes, then buff the wood with another clean cotton cloth.  I chose to put two coats of the Lundmark Clear Paste Wax for extra protection.  Wait 24 hours between coats.  Please note, this is not a hard finish.  You will still get scratches if you are not careful with your piece.  For me this is fine because it just adds to the patina of the piece.
 
As with any DIY project, test your methods in a small, inconspicuous area or on a separate piece of wood to make sure you know how to achieve the desired effect on your piece.
 
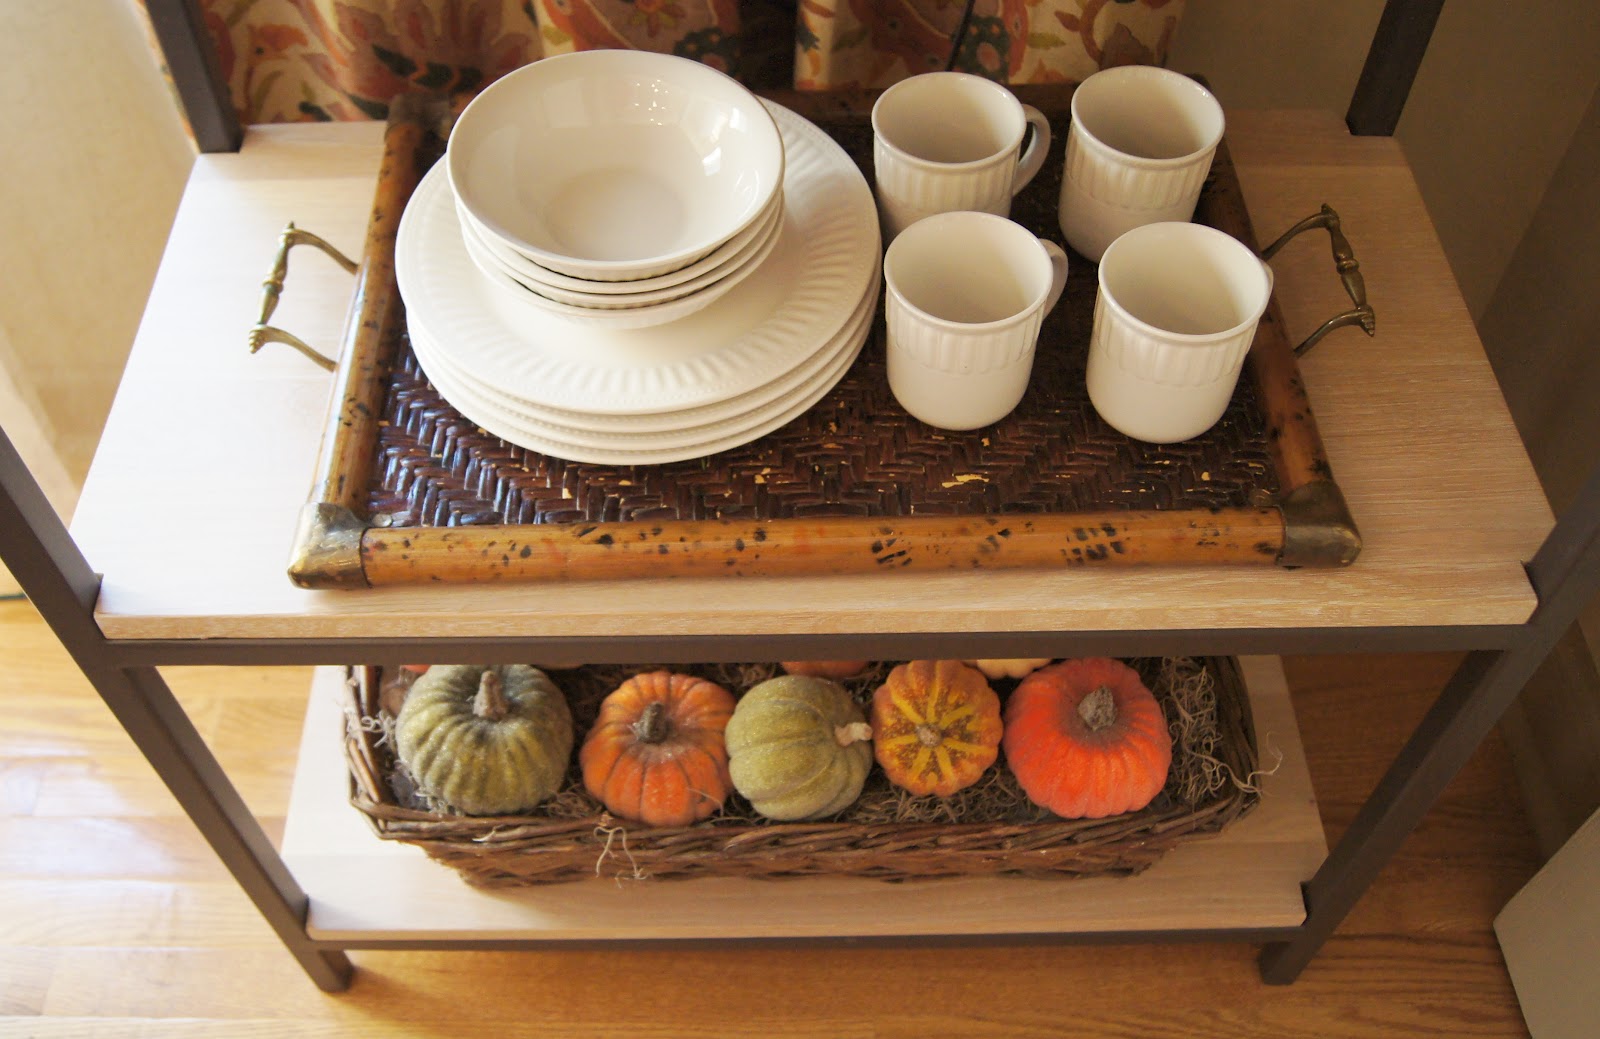
So here's the finished product: