Showing posts with label Nursery. Show all posts

Friday, March 29, 2013

My House Tour: Madeline's Nursery Details

Now that you've seen Madeline's nursery (click here if you missed it yesterday), let's get to all the details of this design.
 
#1 - Inspiration
Let me just say this isn't your typical nursery.  The starting point for this room was the Chinese Art Deco rug we inherited from my husband's grandmother.  This rug had been in storage for several years and the only place I could really use it was in the nursery.

 
#2 - Wall Color
I liked the pastel wall color in this Tyler Dawson room, so I chose Benjamin Moore's Rose Silk for the nursery walls.  It's a light pink that's in the same color family as the red in the rug.
 
#3 - Drapes
On a trip to World Market, I stumbled upon these green velvet drapes that pick up the green accents in the rug.  I customized them by adding some braided trim (since I don't know how to sew I just hot glued it on). 

 
The drapery rods were left over from another project.  I painted them gold with Rustoleum's Metallic Brass spray paint.
 
 
#4 - Furniture
The crib, bedding, and rocker (which was my great-great-grandfather's) were originally in Savannah's nursery and my design allowed me to re-use them in this room.  

 
The side table is from High Street Market.
 
 
I found the chest on Craigslist and it's perfect to use as a changing table.

 
For storage, I purchased Ikea Vittsjo shelves and gave them a makeover inspired by this post from Ana Antunes.


#5 - Lighting
You may remember when the Etsy gods smiled upon me and I found the most beautiful chandelier here.  It's from Etsy shop Sarah's Smiles and I couldn't be happier with the purchase and with the excellent customer service she gave me. (She even ordered me extra prismatic bulbs when I broke one and didn't know where to purchase them!) 
 
 
The original lamp I purchased for this room didn't work out, so I went back to Ebay and found this mint green vintage ceramic one that is just perfect.
 
 
#6 - Art and Accessories
The gallery wall above the crib is a mixture of high and low pieces.  The large artwork in the middle is a fine art print by Kerry Steele.  Clockwise from bottom left:  marker art by Madeline's big sis Savannah, vase of flowers art print by Catherine Nolin, pink flower photo taken by my husband when he visited Moldova, dots watercolor by me, small floral oil painting found on Etsy, pink polka dot elephant from Studio Jarrah, and green abstract photo from a National Geographic magazine.


Elephant figures, a blue and white vase, and floral pillows by Etsy shop Aurelia were selected to reinforce the chinoiserie motif of the rug.


Shelves hold books and storage bins for toys.
 
 
A tassle dresses up the vintage lamp on the chest.
 
 
I'm so glad that the nursery is finally complete!  I just hope Madeline loves it as much as I do!
 
Want to see more of my house?  Take the tour here.
 

Thursday, March 28, 2013

My House Tour: Madeline's Nursery

Finally, I can share Madeline's nursery with you!  I feel like I labored just as long with it as I did with her!  But it was a labor of love and I'm so happy with the results.
 
The "before"...
 
 
And now...


Stop by tomorrow for all of the details!
 
Want to see more of my house?  Take the tour here.


Wednesday, March 27, 2013

To the Walls


Today I'm excited to share a project of my own, the gallery wall I hung in my daughter Madeline's nursery.
 
There are several reasons why I'm a big fan of the gallery wall:
 
- If you can't afford or don't want to commit to a large piece of artwork, a gallery wall of smaller pieces is a good solution
 
- You can incorporate lots of different things into a gallery wall: photographs, paintings, objects, silhouettes, postcards, really anything that you can hang on the wall
 
-The frames don't have to be expensive, the same size or match, which means you can buy them as you go and you don't have to spend lots of money up front
 
-You can easily update the wall and change the feeling of the room by adding or swapping out the art
 
- You can add to the wall over time, allowing you to collect things you love
 
- Since most of the pieces are relatively small, they can be easily moved to another spot if you decide to change up your gallery wall
 
But gallery walls can be intimidating, so I'm gonna share some tips to help you create your own gallery wall. 
 
Selecting Art and Frames
 
Variety and unity are the two keys here. 
 
The art on my gallery wall features a variety of subjects, mediums, and sizes.  Subjects include abstracts, florals, and an elephant.  Mediums are photography, watercolor painting, oil painting, fine art prints and magic marker.  Sizes range from 5x7 to 24x27.  Notice the pieces are framed with and without mats. 
 
Unity is achieved through the repetition of colors.  The art is composed of a pink and green color palette that visually links all the pieces together.  I started with the largest piece of art from Kerry Steele and chose the rest to coordinate with it.  Although the frames are all different, the repetition of gold frames and white frames creates a cohesive grouping. 
 
 
Arranging the Art
 
There aren't really any rules to arranging the art, just play with it until you come up with an arrangement that pleases you.  I laid all the art on the floor and took photos of the different arrangements to help me decide on the best one.  The photo is also a good reference for placement when you begin to hang the art on the wall. 
 
 
Hanging the Art
 
The best way to get the art hung on the wall is to make templates from paper.  These templates will allow you to play with the arrangement on the wall before you drive in any nails.  You can use any type of paper to make a template.  I used the paper that the store wrapped around my frames (only problem here was that it was a little crumpled). 
 
Trace your frame size onto the paper and cut it out.
 
 
Next, you want to mark the location of the picture hangers on your template.  Flip the frame over and line up the paper with the frame.
 

Use a sharpie to mark the location of the hanger so you will know where to place your nail.

 
Label each of your templates so that they won't get mixed up if you decide to move them around on the wall.
 
Now you are ready to transfer the templates to the wall.  Refer back to your photograph of your arrangement to help you.  Tape each template to the wall and adjust to get the correct placement.
 
 
When you are happy with the arrangement, you're ready to hang.  Using the mark denoting the location of the picture hanger, drive in your nail through the template.
 
 
Hang your art on top of the template.  This way if you decide that a piece should be moved after all of them are hung, you can easily take it down and move the template to help you re-hang the piece.  Once you decide all the pieces are in the correct locations, you can then tear the template out from under the art without removing the art from the wall.


And here's the result!


I'll share the full nursery reveal tomorrow and all the details on Friday!


Friday, November 2, 2012

Fairy God-Decorator

You know how Cinderella had a fairy godmother who made her look fabulous?  Well, I have decided I need a fairy god-decorator who can make Madeline's nursery look fabulous before she gets here.  Here's what I go so far:
 
 
Here's what still needs to happen:
 
-Hang rods and curtains (I just tacked them up in the photo to get a better idea of what they would look like)
-Spray paint Vittsjo shelves (these will go on either side of the crib)
-Purchase lighting, art, and accessories (always the hardest part for me to do)
 
So which one of you has a magic wand?

Thursday, September 27, 2012

Etsy Score!

I have been looking for a chandelier for Madeline's nursery for a while now.  I thought I wanted something like this (but in a different color):


These pagoda chandeliers have shown up in lots of design magazines and blogs, but good luck finding one for your home.  I checked eBay and Etsy to no avail.  Circa Who, a great little vintage shop in West Palm Beach, has some, but they are around $900 each.  Not in my budget.  I also thought maybe the pagoda chandelier with the Chinese Art Deco rug might seem like I was going for a whole Chinese themed room, which isn't the case.
So, scratch that and on to other chandelier options.
 
I thought maybe some sort of glass chandelier might work well and as I was on page 3 of my Etsy search, this little beauty appeared before my eyes, a vintage yellow glass chandelier:
 
 
The price was right and it jumped in my shopping cart in about 2 seconds.  I hit pay and am not looking back.  I am not usually such an impulse buyer, but this chandelier seems perfect.  Cross your fingers that it works (if not I will just have it re-wired) and that it looks great in the nursery!
 
This is from Etsy shop Sarah's Smiles and she has several great vintage chandeliers for sale right now.  She will also custom paint a chandelier to match your decor.  Check her shop out here.


Wednesday, August 8, 2012

Madeline's Nursery: Part 1

 
That's right, we have a name!  Baby Shaw will officially be known to the world as Madeline Ann Shaw!

So, we have a baby girl, a name and now we need a nursery.  Where to start?

I have a Chinese Art Deco rug that was my husband's grandmother's and this piece will serve as the inspiration for the room.  Here are some not so great photos of the rug:


 This rug has been in storage for a while because, although I think it is beautiful, I had no idea what to do with it.  Until I found these images:

Jonathan Adler


Tyler Dawson

Think pastels, jewel tones, velvet, goldleaf, and maybe even a little lepoard.

Monday, August 6, 2012

Daphne's a Lucky Girl

I don't know Daphne or her Mama, but she is one lucky little girl. 
 I stumbled across her fabulous nursery on Apartment Therapy the other day.


I love how this room is sophisticated and whimsical all at the same time!  These images will definitely be inspiration for Baby Shaw's nursery.  Here is the link to the full article with all the details about this space.

Tuesday, March 6, 2012

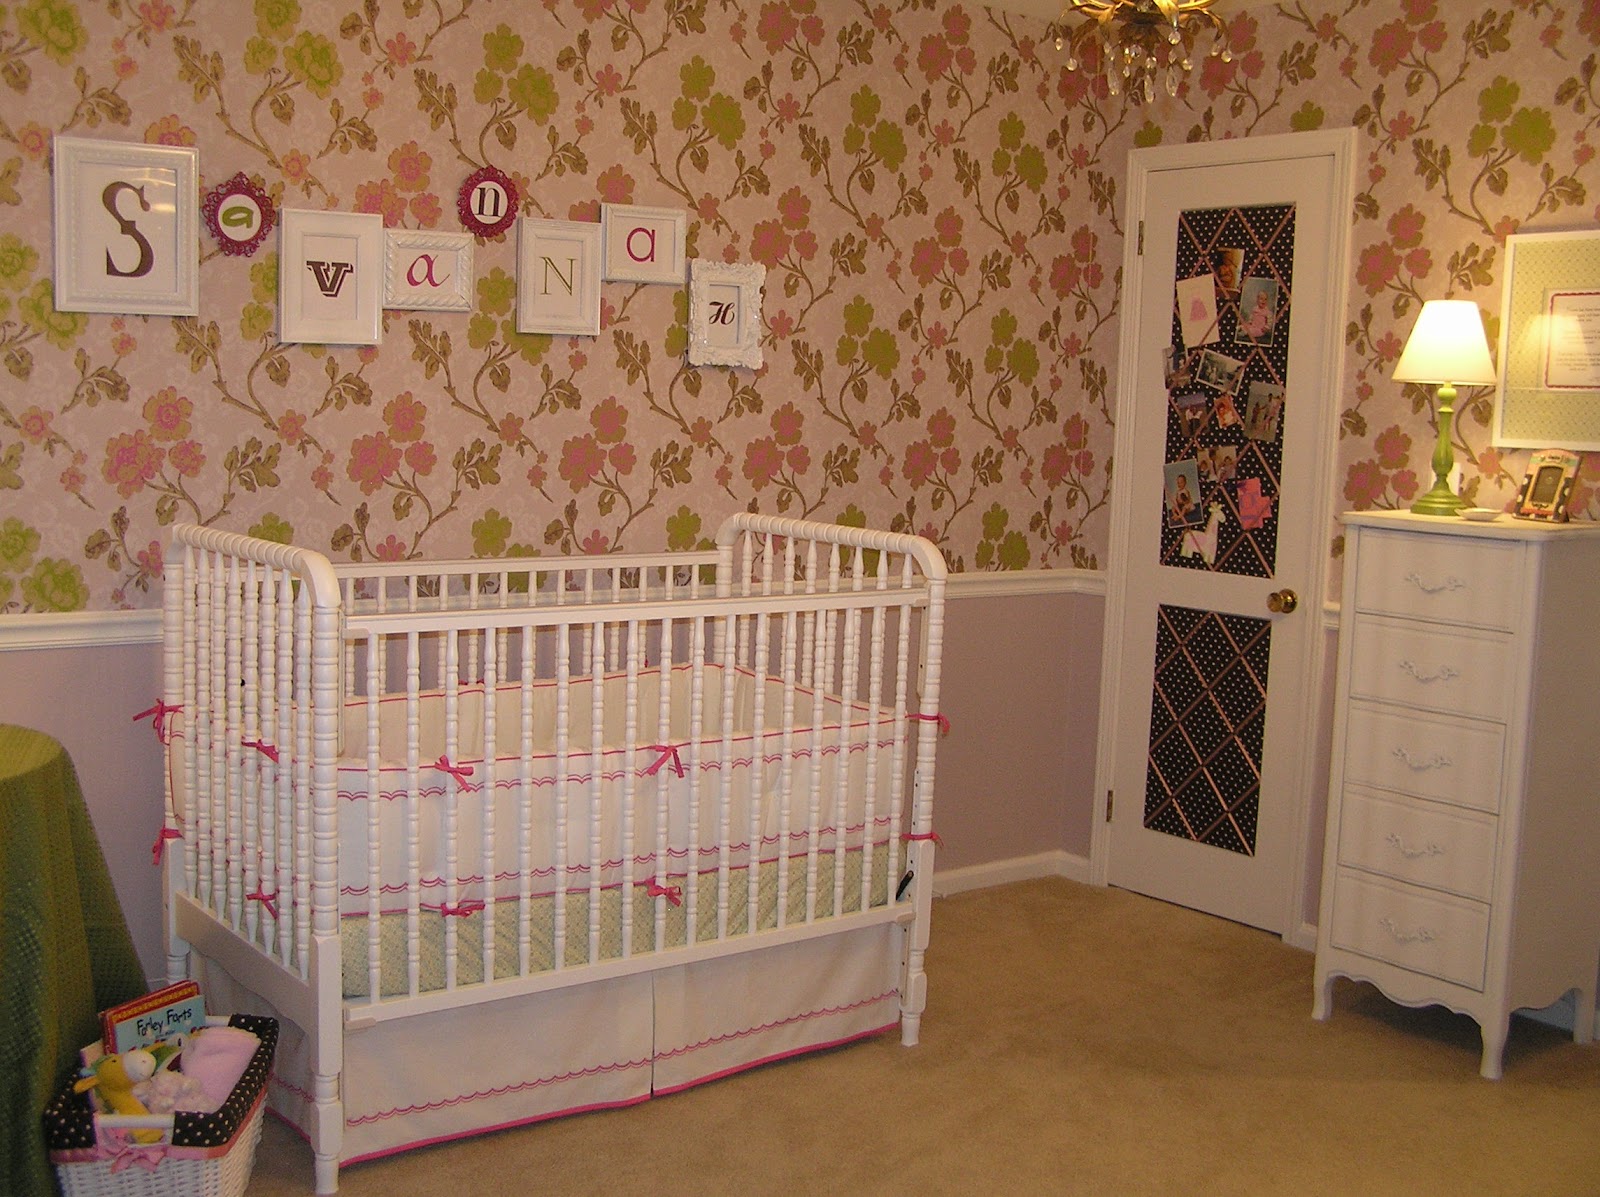
My House Tour: Savannah's Nursery

Savannah's first day of "big girl school" was today and I can't believe she is already almost three years old!!  So, in honor of this big event, I thought I would start my house tour with her nursery.

A little background:  we moved into our current home in 2007.  It was built in 1969 and needed some pretty serious love.  For about two years we did lots of not fun/exciting/glamorous work to the house that I won't share here.  Then we found out that Savannah was on her way and I had a nursery to decorate!  This room was really the first one that was pretty much complete (well, as complete as any room in a designer's home ever is).


Before:
Hunter green wallpaper on one wall, large National Geographic map on the other wall, small depressing ceiling fan, and cheap plastic mini blinds.  At least there's no shag carpet.


After:


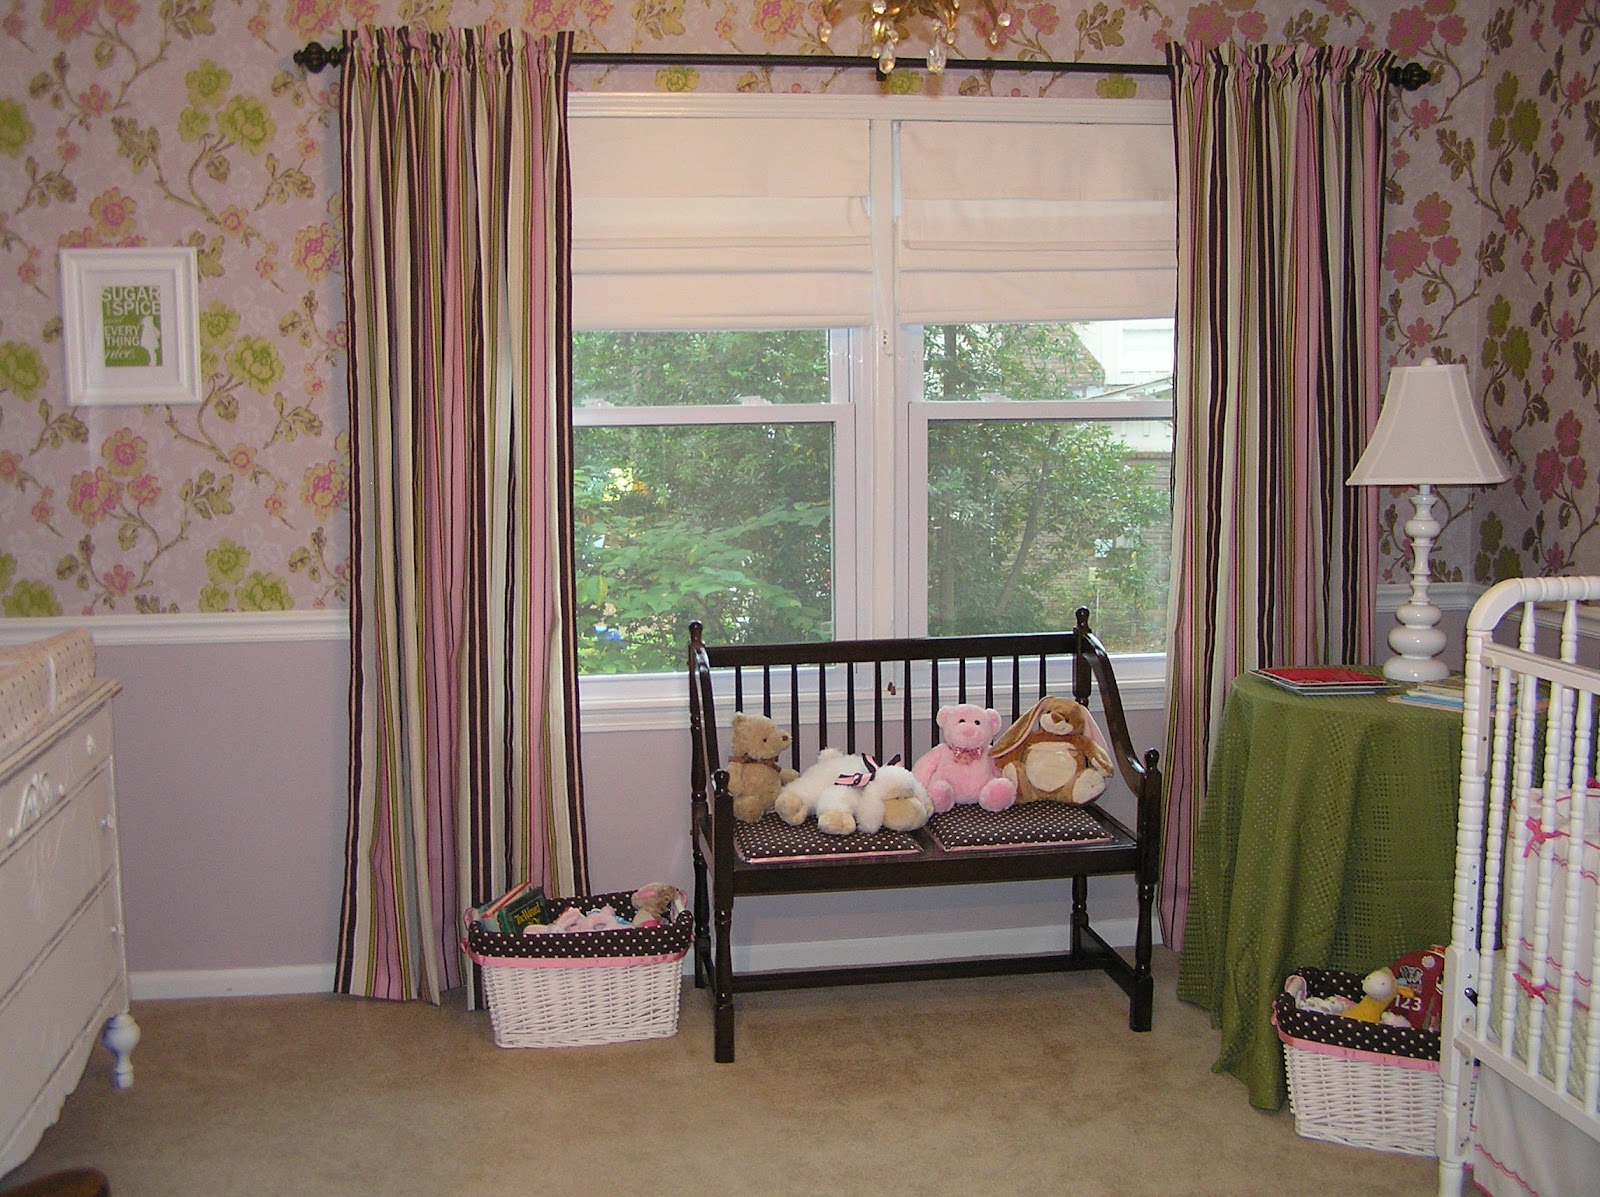
Now, about this room.  I believe that design is about more than just decorating a room to look pretty, its about creating a space that is special because it contains things that are meaningful.  There are so many meaningful things in this room.  The rocking chair was my great-great grandfather's and was given to me by my uncle.  The bench was a present from my dad.  I bought the antique dress on the wall for a baby present, but decided to keep it because it was so pretty and "just in case I have a little girl" and Savannah wore it in her six month photos.  The baby shoes hanging beside it were mine.  And my most favorite thing is the photo board on the closet door.
It has photos of me and my husband as babies, along with our family members as children.  I also included some of the cards that I received at my baby showers.

I also designed this room to grow with her.  I made cheap artwork over the bed by printing the letters of her name in different fonts and framing them in mismatched white picture frames.  Since this was inexpensive, I won't feel guilty when switching it out with some great artwork later on. 

The vintage dresser serves as my changing table and when she no longer needs it, all I have to do is take off the changing pad.  Since the furniture is mismatched, I can switch out the crib with a "big girl bed" and I don't have to replace any other furniture items.  I also plan to add some more modern pieces as she grows up to make the room a bit more fun (will post about that later). 

Next up is to find a "big girl bed".  I can't believe it goes by so fast!