Showing posts with label Holiday Decor. Show all posts

Tuesday, March 26, 2013

Happy Easter

 
The Easter bunny stopped by.
 
This is what he left me.


Happy Easter!


Friday, December 14, 2012

It's Beginning to Look a Lot Like Christmas

This year I decided to simplify my holiday decorations.  The goal was to have displays that were quick to assemble, easy to store, and budget friendly.  The best way to achieve this is to use items that you already have on hand and to use real plants and foliage (preferably the free kind from your own yard).
 
Here's a look at my final Christmas decorations.  For someone without a newborn, it would probably take about a day to complete.  For me, it took about two and a half weeks.  That means I only get to enjoy them for two weeks before Christmas.  I should have started decorating sooner!!

On the sideboard in our kitchen, candles and ornaments are arranged at varying heights atop leftover cuttings from the Christmas tree. Hanging ornaments and a lighted wreath add some sparkle.


My treasured handmade cross is displayed above the mantle.  A manger scene is featured the center of the cross.  Fresh cuttings from the pine trees and berry bushes in our yard were added to the pre-lit garland.


Stockings hang from a garland adorned with ornaments.
 
 
And finally, the Christmas tree.  This is not a decorator tree, this tree is filled with all the special ornaments we have collected over the years.  The repetition of the red glass ball ornaments and the gold twig fillers pulls all of the various elements together. 
 
Now we just need a visit from Santa.
 

Thursday, December 6, 2012

Problem Solved

I don't love DIY projects, but I just can't seem to stay away from them. 
 
 If you saw my Halloween and Thanksgiving decorations (you can check them out here and here) you will remember that I changed the items that hung above my mantle according to the season. 
 
 This left holes in the wall that will need to be patched before I re-hang the painting that resides there during the rest of the year. 
Not good.
 
So I got smart and devised this little DIY project to solve the problem of the holes in my wall.  I took the large gold frame that I already had, cut down a cork push pin board to fit the frame, wrapped the board in burlap, and fitted it into the frame.  Here's the result:


This will allow me to attach my holiday decorations to the cork board instead of driving nails into the wall.  Also, the frame makes the Cross that I hang during Christmas a little more prominent on the mantle. 
 
The best part is that the cork board is multipurpose.  When the holidays are over, I can use it in another room as a message board!


Thursday, November 1, 2012

It's Fall Ya'll

Well, I thought it was fall until Sandy blew through and I had to wrap my pregnant self up like Randy in "A Christmas Story".  But I am still pretending it's fall and have decorated my dining room accordingly.  I am sure you have seen enough fall decor on the internet lately to last you a lifetime, but I am adding my two cents.  Here it is:


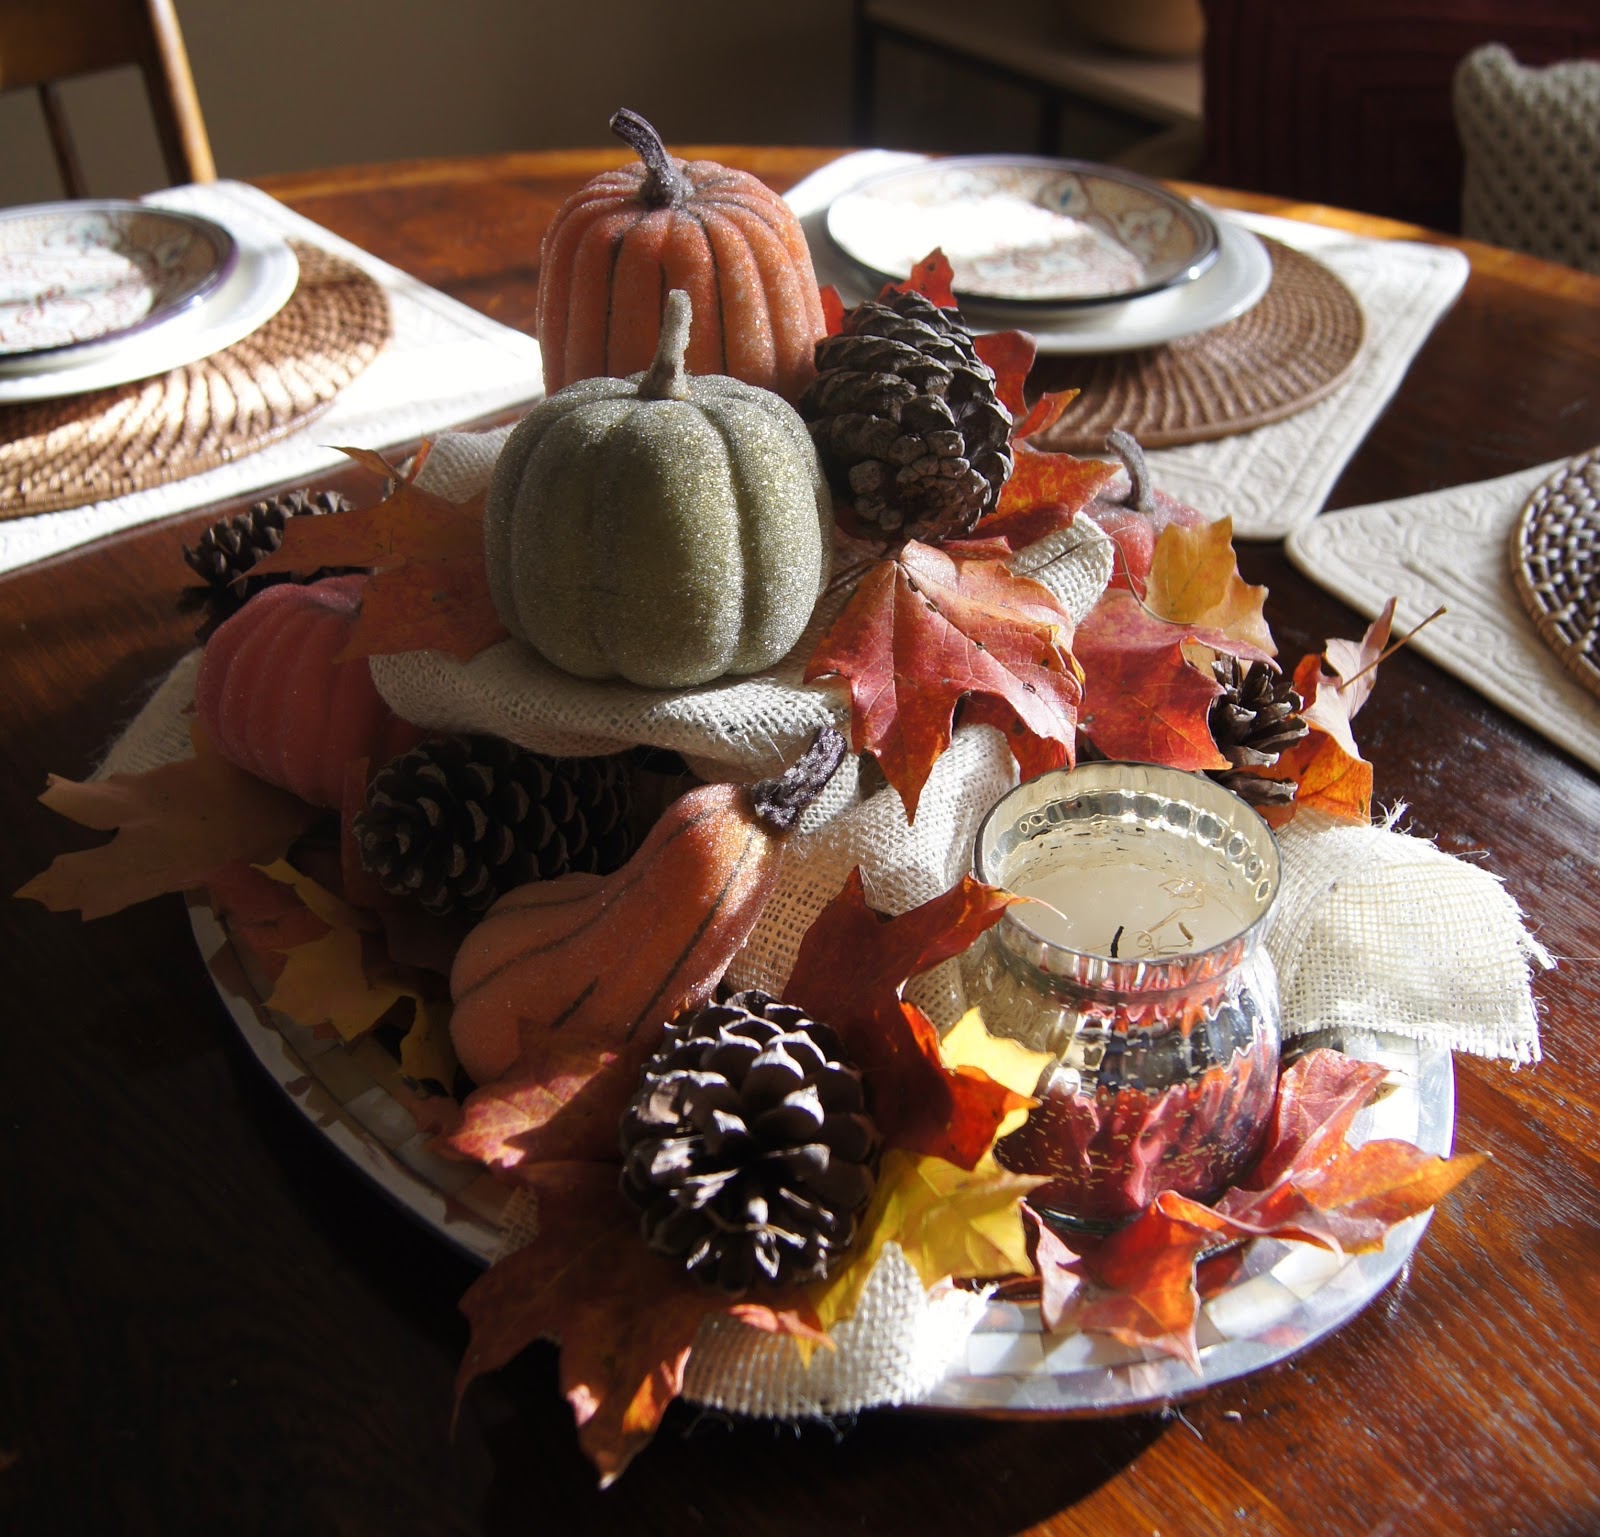
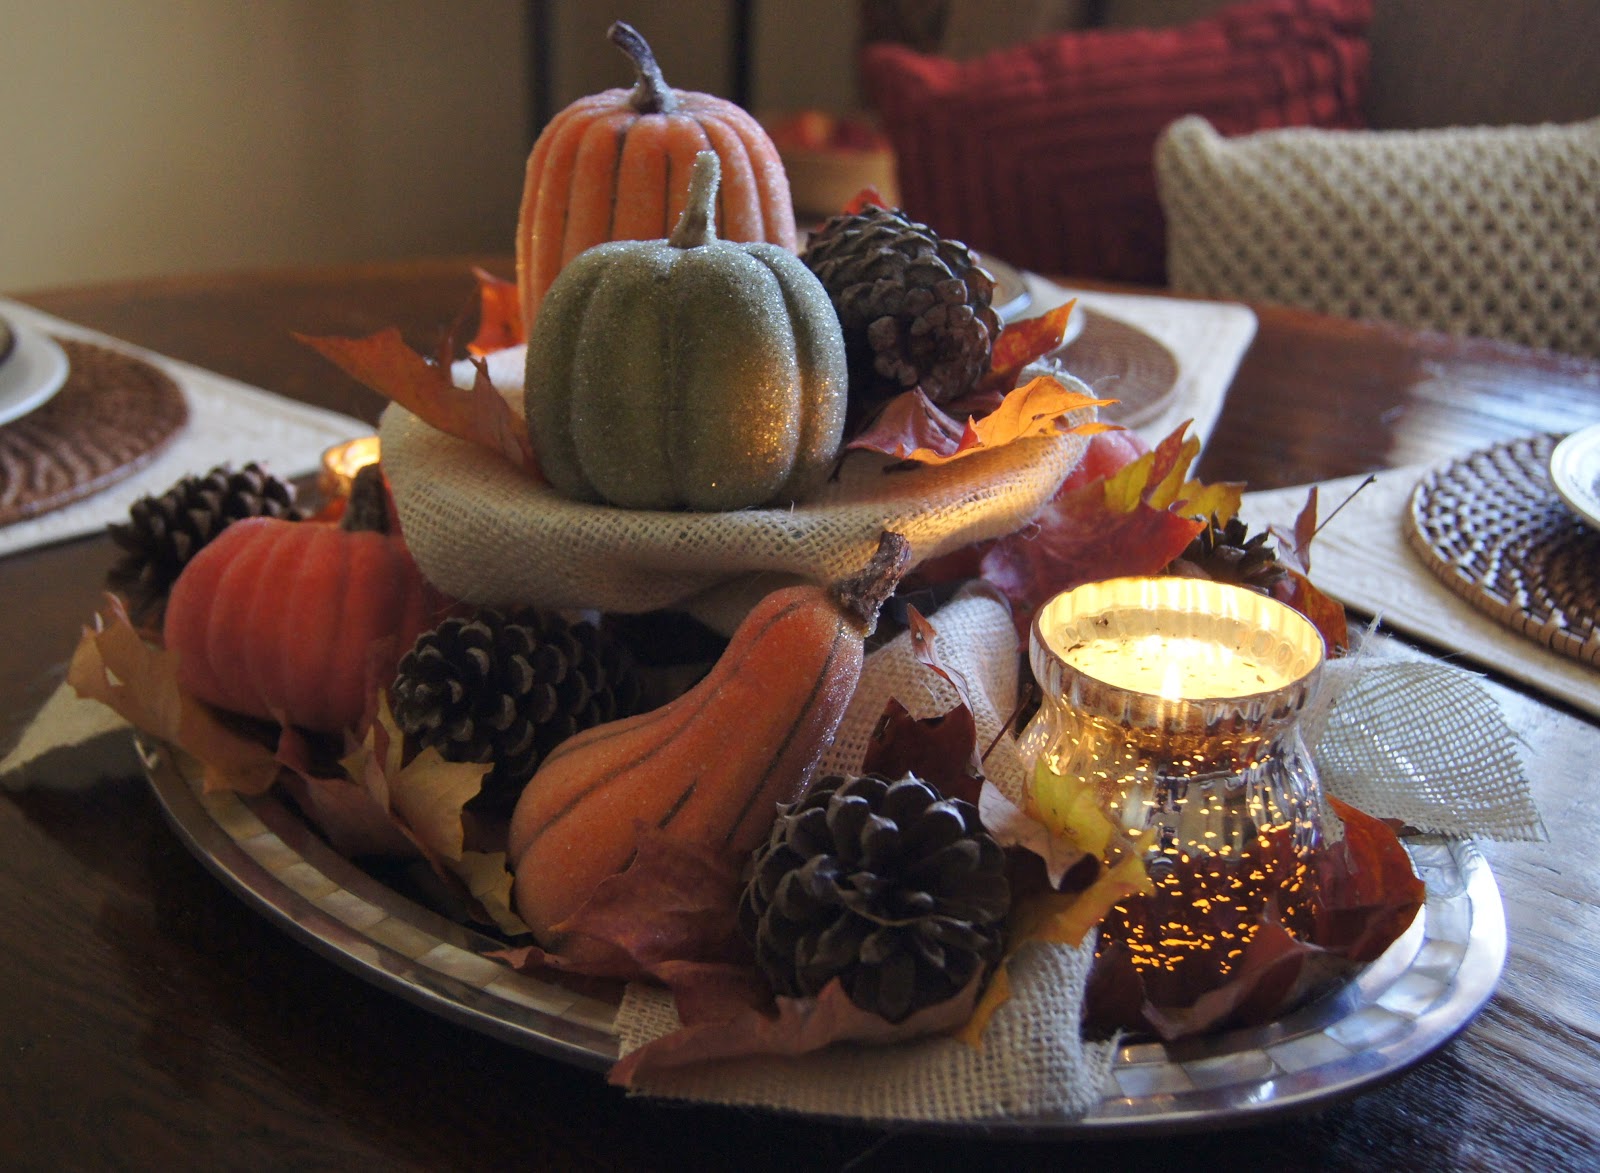
It's pretty much the same principle as my Halloween decor.  For the mantle decorations, I started with the burlap material that I didn't use on the Halloween pillows.  I then snipped some free decorations out of my yard (branches, leaves and pine cones) and layered them on top of the burlap.  I used votives and candleholders which can be used at other times of the year (notice a few from the Halloween mantle) and elevated them with plastic bowls and cups hidden underneath the burlap.  I added in a couple of small fake pumpkins (I love the real ones, but am lazy and hate to go buy them each year) and a fall wreath and the mantle is complete. 


Next up is the table.  I found these great salad plates at WorldMarket and they will be used year round on my table. 


I then used the same platter and cake stand from the Halloween decor.  I covered them with burlap, added some leaves and pinecones as a base, then topped it off with more fake pumpkins and a couple of votives.  So easy!