Every once in a while I fancy myself as one of those "crafty" people and decide to take on some small project that requires me to go to JoAnn Fabrics or Hobby Lobby or someplace like that. Someone please explain to me why there are always a million people in those stores, only one person to cut fabric, and one person working the register? Also, why do I always find that I could just buy whatever it is that I am going to try to make for the same price, if not cheaper, and know that said bought item will look twice as good as the crap I am trying to make?
Anyhoo, on with the post.
In my spare time (I should be feverishly working on Madeline's nursery, but I have hit a mental roadblock so I had to dream up something else to do) I decided that I needed some Halloween pillows to spruce up the chairs in front of my fireplace (the hubs did not understand this). Check back tomorrow for the full Halloween decor reveal!
Chairs that are in desperate need of Halloween pillows, don't you agree?
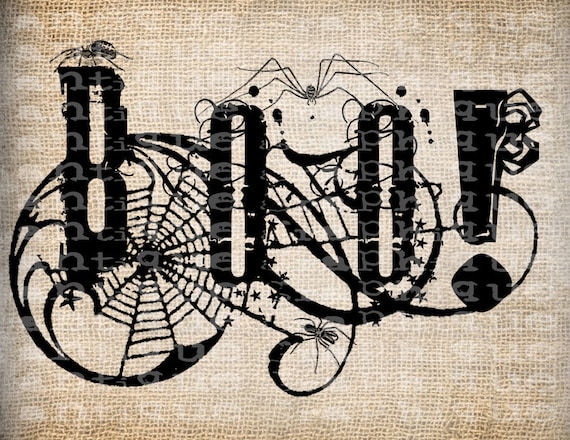
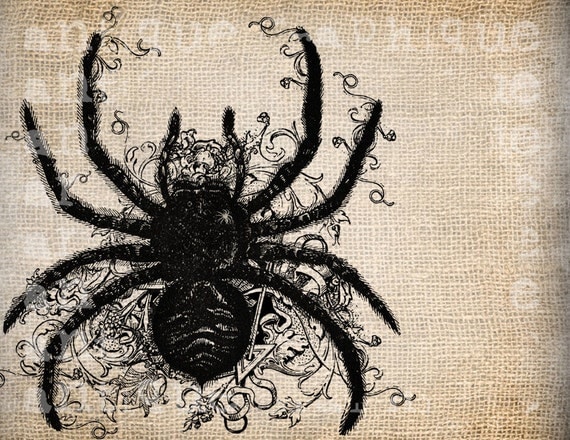
The original plan was to purchase some burlap fabric, make some pillow covers, and stencil Halloween themes on the front in black craft paint. As I was browsing Etsy for ideas, I came across Antique Graphique, a shop that sells images. You pay a couple of bucks, download the images, and do whatever you want with them. Here are the two that caught my eye:


I then found this transfer paper at JoAnn Fabrics:
You can print images onto the paper and then iron them onto t-shirts, pillow covers, mouse pads, tote bags, and lots of other nifty things.
As I was looking around Southeastern Salvage, they had burlap pillow covers for $8 each. I figured these would look nicer than the ones I would make and this would save me some time. The trim on the edges was brown, but I thought it would look better if it was black, so I used craft paint and a sponge brush to paint the trim.
I then printed my images on the transfer paper.
A few tips:
1. Print out your image on regular paper first to ensure that it comes out exactly as you expected.
2. Go ahead and slip your pillow insert into the pillow cover and do a quick "mock up" of your pillow so you know exactly where to place your image. Pin the image to the pillow cover to hold it in place.
3. Before you print on the transfer paper, you will need to change your printer settings so that it will print your image as a mirror image. Also choose the lowest resolution (DPI) so that you don't get lots of extra ink on the paper. You can do this in your printer properties settings.
4. The ink on the paper will be very wet when it comes out of the printer, so handle it carefully and set the images aside to dry for a while.
5. After them images dry, cut the extra paper from around the images. Leave about a quarter of an inch around the images. Any white transfer paper that you do not cut out will show up on your fabric.
This shows the printed mirror image after it was cut out of the whole sheet of transfer paper.
6. Now you are ready to iron the image onto the pillow cover. Take out the pillow insert and unpin your mock up image. I placed my pillow cover on the floor and slipped a piece of cardboard inside it because you need to iron on a hard surface (no ironing boards). Using the highest heat setting, place the image face down on the pillow cover and iron in smooth motions up and down and from side to side. Note: Before I put the whole image on the front of the pillow cover, I did a small test image on the back to see how it would work out.
7. Next, peel the backing off of the image. I found it best to first lift up all the edges around the image and then pull the paper off. Be patient with this part, as the paper sometimes does not want to peel off.
Now just slip the pillow inserts into the covers and the project is complete.
Each pillow cost $11 not including the pillow insert. Not too shabby considering these pillows on Etsy are $35 each.


No comments:
Post a Comment