
Last month, I posted briefly about the metal bookshelves that my Dad made for me as a Christmas gift. Dad is great at making things, but he is not good at finishing them (i.e. painting or staining) so I was responsible for finishing the wood shelves.
It took me a while (nine months exactly) to figure out how I wanted to finish the shelves, and in the end I decided I really liked the look of the natural wood, which is white oak, so I wanted a finishing technique that would appear natural but protect the wood. At first I tried using a clear coat polyurethane, but although it was clear coat, it still gave a bit of color to the wood and made the wood grain a little darker, so I nixed that. Then, I saw a few photos of limed wood furniture pieces and decided that was the look I wanted to achieve. Here's how I did it:
First up, you will need some Briwax Liming Wax and Lundmark Clear Paste Wax (I couldn't find this stuff at any of my local hardware stores, so Amazon to the rescue, amazing what you can get there).


Next, make sure that your surface is sanded smooth (use fine grit sand paper) and free of any debris and/or old finishes. My shelves were new, untreated wood, so I didn't have to worry about stripping old finishes and Dad was gracious enough to sand them for me.
Then, dip a clean cotton cloth into the Liming Wax (I used one of the hubs' old white t-shirts), get a dollop of wax, and rub it along the grain of the wood. This doesn't have to be a thick coat, just enough to cover the wood and get into the grain.

This is a dollop. You like that precise measurement?

Rub with the grain of the wood.

Aim for a thin coat that looks something like this.

The untreated wood is to the left, the lime wax is on the right.
Let the wax sit for a few minutes, then wipe it off with another clean cotton cloth. It should then look like this:

You can see the original color of the wood, but it has a slight whitewashed tint and the grain shows up as white instead of dark. I liked this coverage, but if you wanted more lime wax to show, you could probably repeat the steps above, build up the finish with several coats of wax, then use a scraping method to look something like this:

Also keep in mind that the wood species and any stain color underneath will determine the final color of the piece.

This is a rosewood chest. Notice that it is much darker than my wood shelves.

If you want more of a gray tone to the wood, you would probably need to stain the wood first with something like the Minwax Wood Finish Classic Gray 271 and then apply the lime wax.
After you finish the lime wax process, let the piece cure for about 24 hours, then apply the Lundmark Clear Paste Wax. This will add an extra layer of protection to the wood but won't alter the lime wood finish. Repeat the same steps as above to apply this wax: using a clean cotton cloth apply a coat of wax, let it dry for a few minutes, then buff the wood with another clean cotton cloth. I chose to put two coats of the Lundmark Clear Paste Wax for extra protection. Wait 24 hours between coats. Please note, this is not a hard finish. You will still get scratches if you are not careful with your piece. For me this is fine because it just adds to the patina of the piece.
As with any DIY project, test your methods in a small, inconspicuous area or on a separate piece of wood to make sure you know how to achieve the desired effect on your piece.
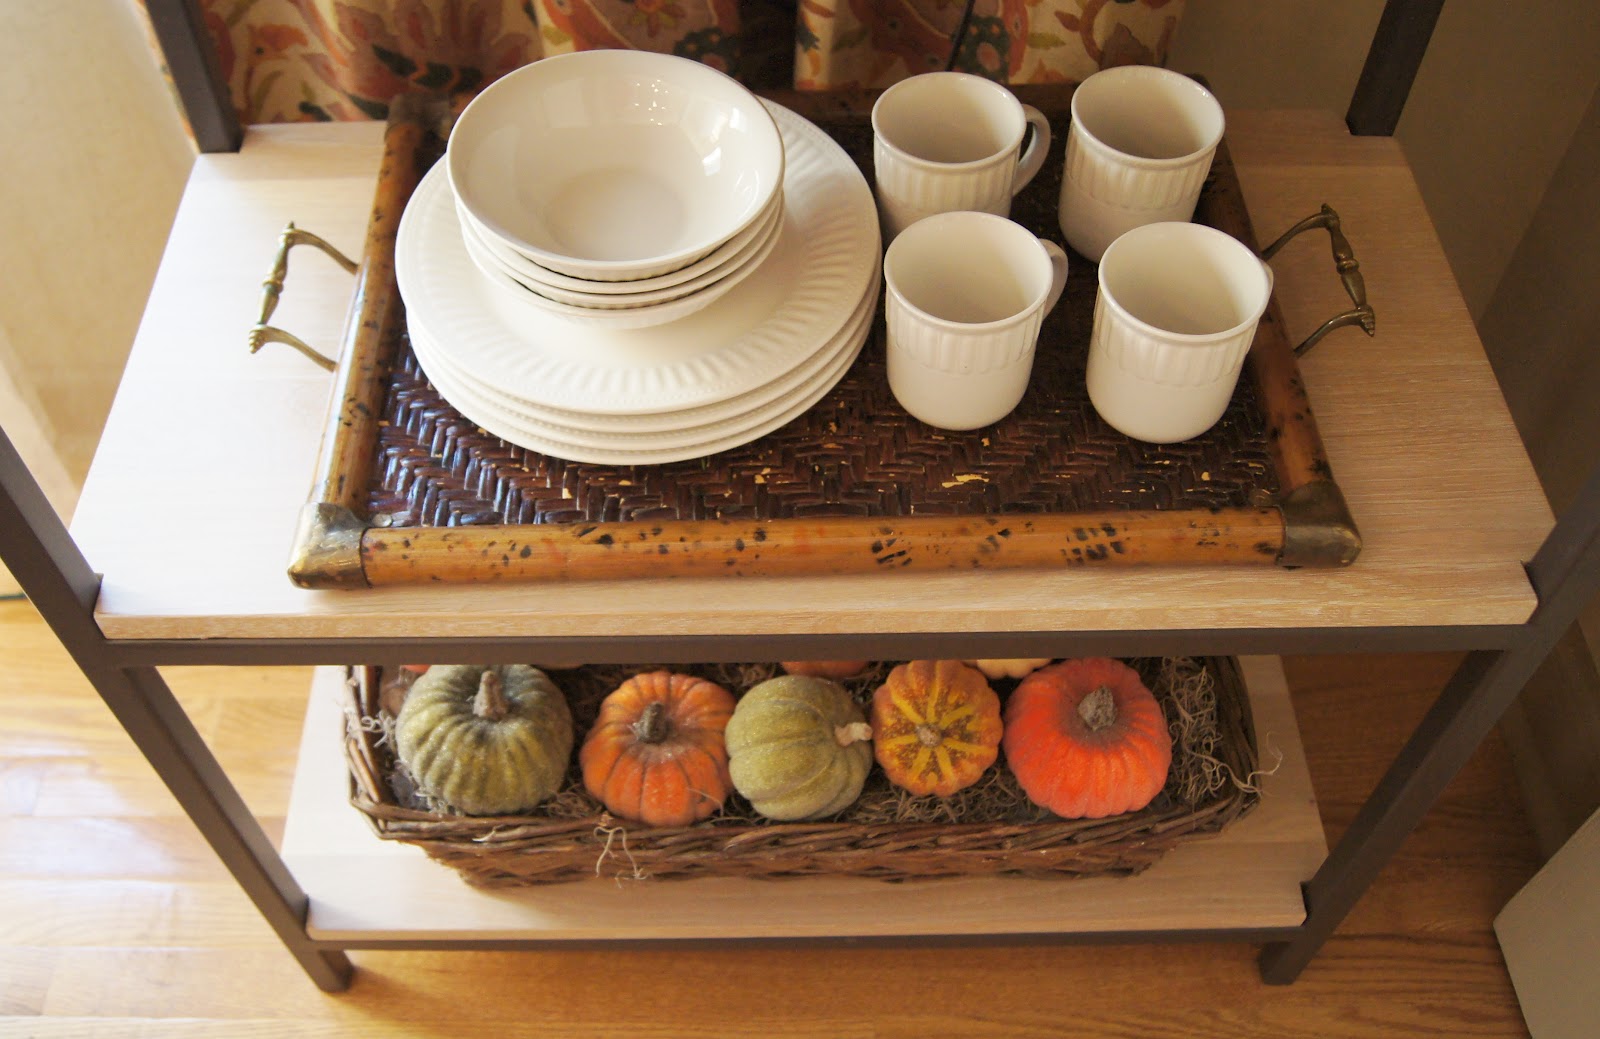
So here's the finished product:


No comments:
Post a Comment